Low Light Gym Filming - Sony A6700 + 18-135mm
Technical reference for filming strength training in low light gym environments. Covers camera settings, exposure management, focal length selection, and common issues.
Overview
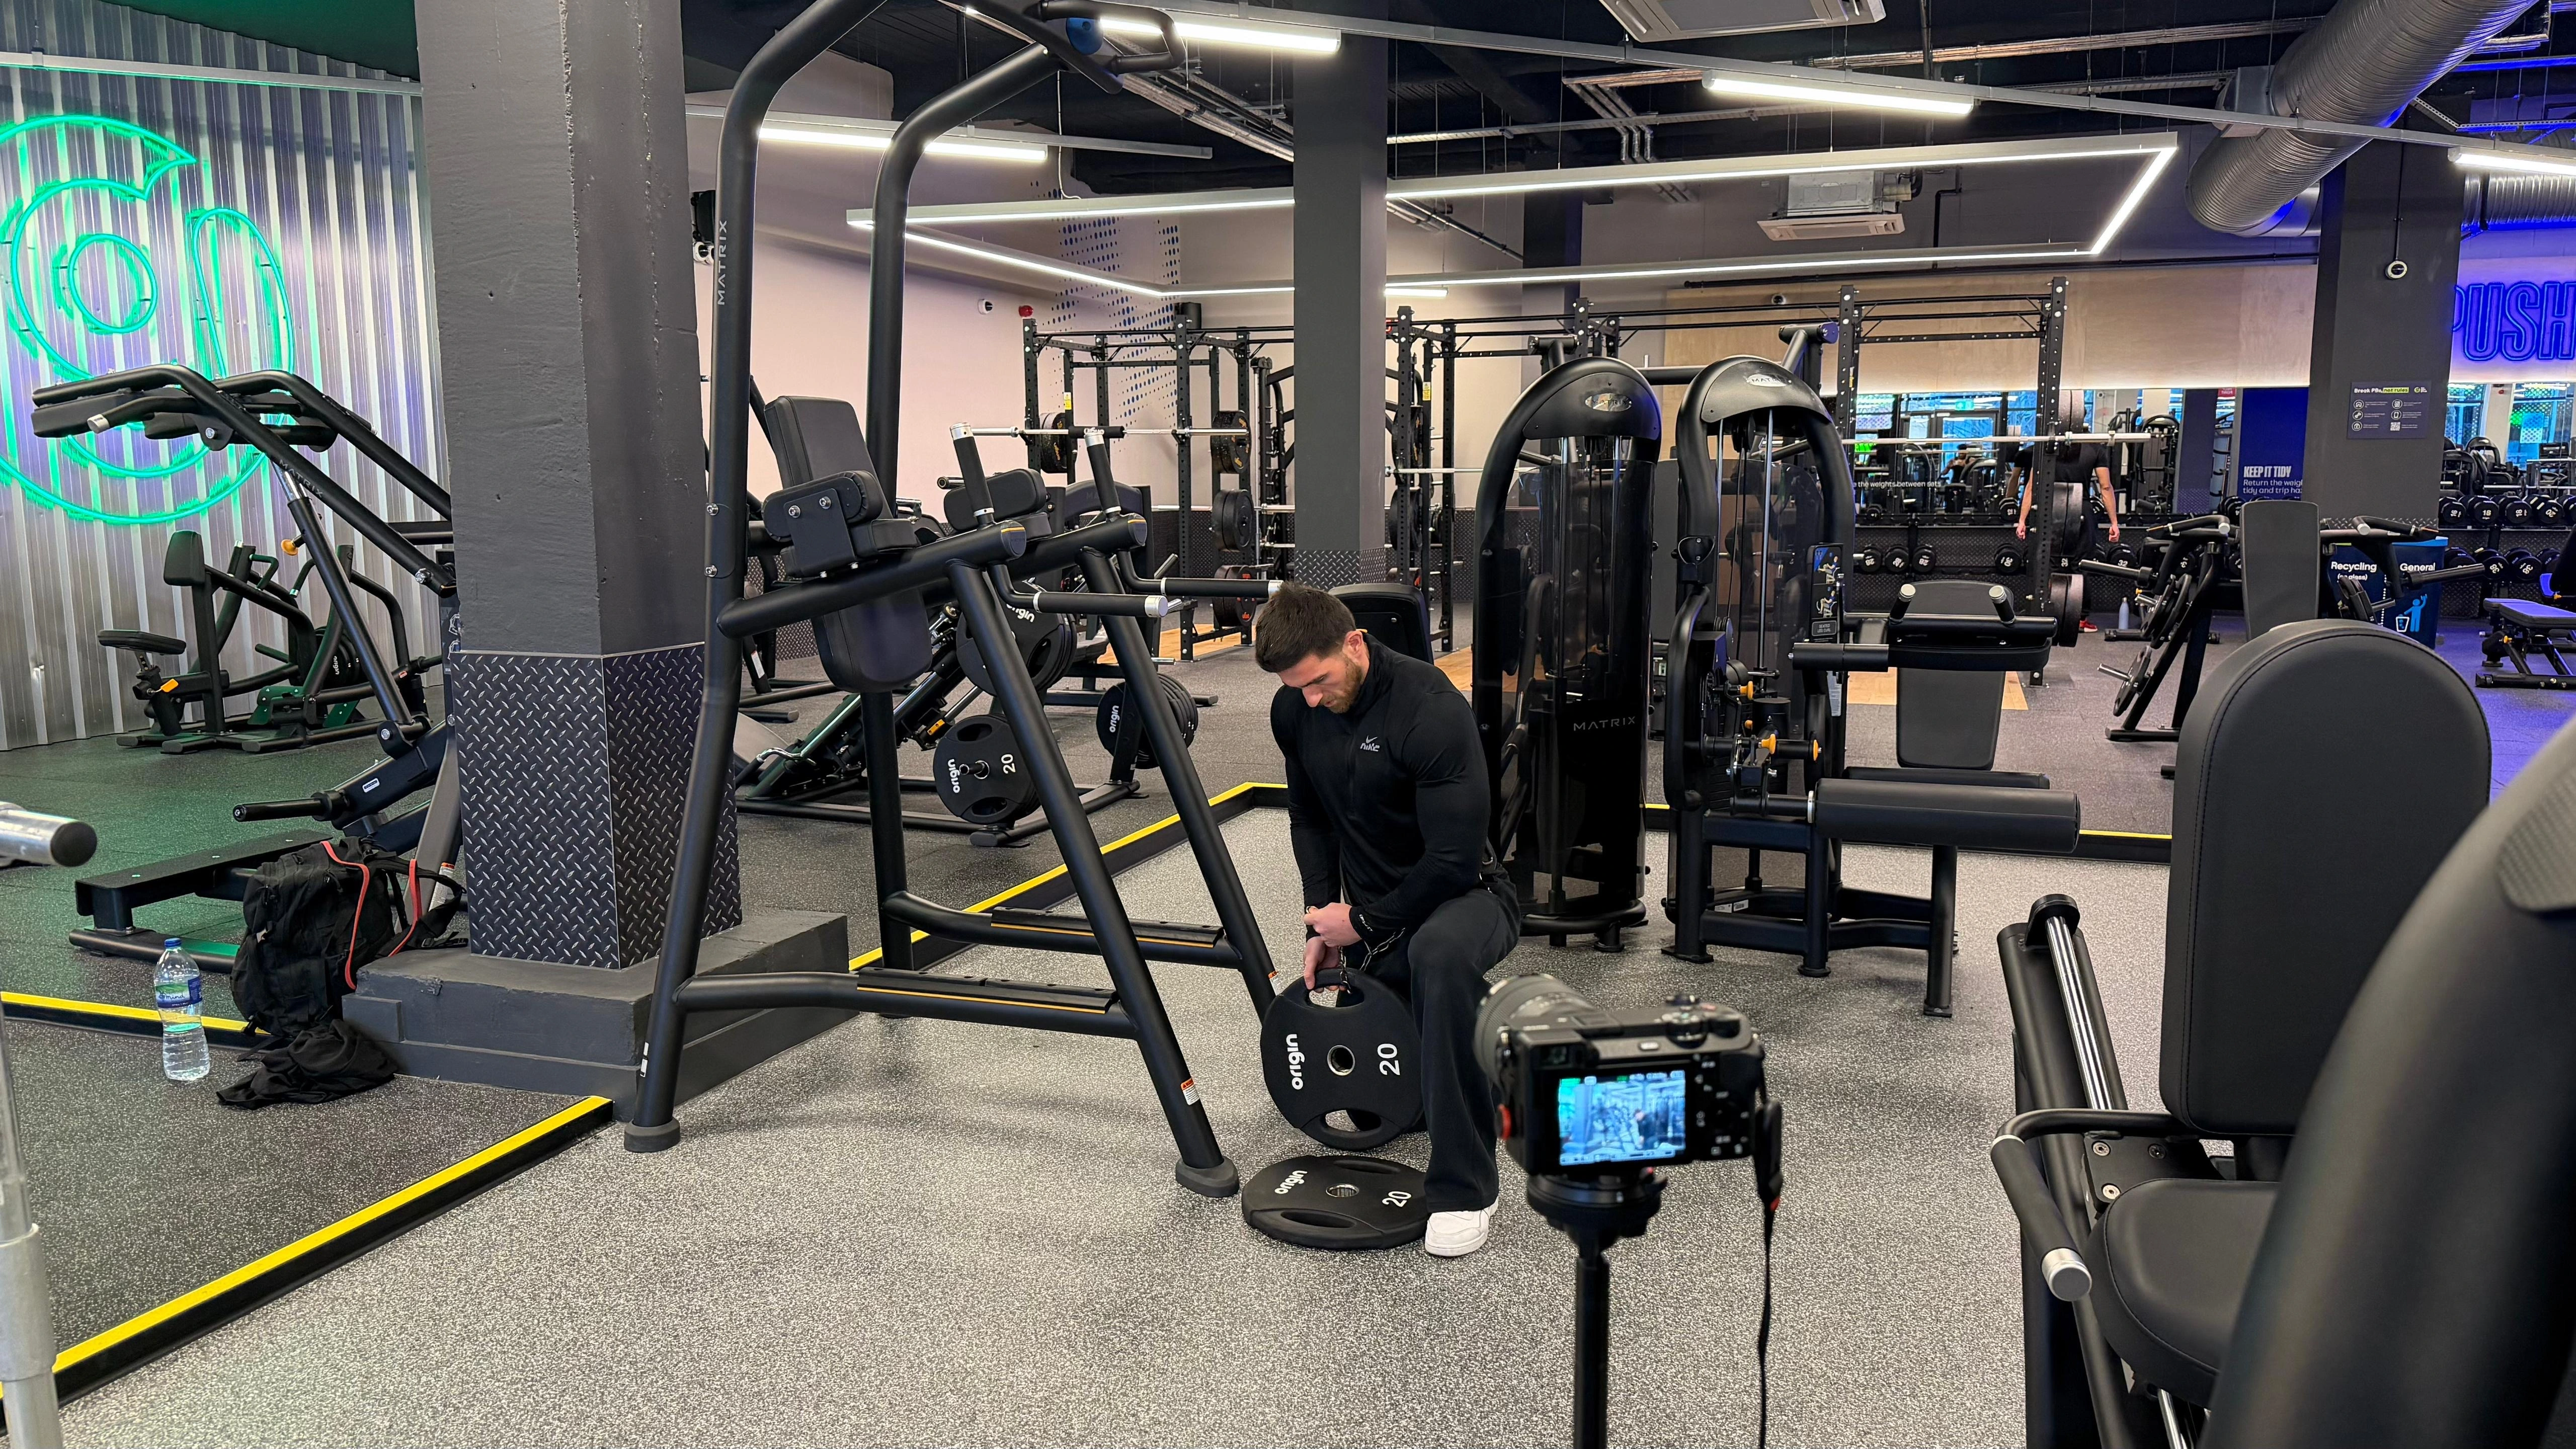
If your gym relies on overhead fluorescents with no natural light, it’s low light — and most commercial gyms fall into this category. You’ll know for sure when your camera pushes ISO above 1600 to get a usable exposure. That’s when noise becomes visible and image quality drops.
This document provides technical guidance for filming strength training in these environments. It covers exposure settings, focal length selection, common problems, and recommended solutions.
The reference setup uses a Sony A6700 with the Sony 18-135mm f/3.5-4.5 kit lens, though principles apply broadly to similar camera systems.
Scope
This guide focuses on solo documentation filming with a fixed tripod position. It does not cover multi-camera setups, gimbal work, or professional production workflows.
Equipment Reference
Camera and Lens
| Component | Specification |
|---|---|
| Camera body | Sony A6700 (APS-C, 26MP) |
| Lens | Sony 18-135mm f/3.5-4.5 OSS |
| Maximum aperture | f/3.5 at 18mm, f/4.5 at 135mm |
| Tripod | Peak Design Travel Tripod |
Recording Settings
| Setting | Value |
|---|---|
| Resolution | 4K (3840 × 2160) |
| Frame rate | 25fps |
| Bit rate | 140Mbps |
| Colour sampling | 4:2:2 |
| Bit depth | 10-bit |
| Picture profile | Cinetone |
| White balance | 3000K (manual) |
Why These Settings
25fps — Matches PAL standard for the UK/Europe. Also determines shutter speed baseline via the 180-degree rule (25fps → 1/50 shutter). If you’re in the US, use 30fps (NTSC).
Not 50fps or 100fps — Higher frame rates are for slow motion. They require more light (faster shutter speeds) which means higher ISO in a dim gym. For real-time training documentation, 25fps is enough.
Cinetone — Sony’s picture profile designed for video. Produces natural skin tones and a cinematic look straight out of camera with minimal grading. Flat profiles like S-Log require colour grading — unnecessary complexity for training footage.
3000K white balance — Counteracts the yellow-green cast from overhead fluorescents. Produces a cooler, industrial grey aesthetic. Higher values (4000K+) look yellow under gym lighting.
Recording Format Options
| Option | File Size (20 min) | Use Case |
|---|---|---|
| 100M 4:2:0 8-bit | ~14GB | Recommended — good quality, manageable files |
| 140M 4:2:2 10-bit | ~20GB | Overkill for training footage unless colour grading |
| 60M 4:2:0 8-bit | ~8GB | Not recommended — visible compression in detailed scenes |
What I Use
100M 4:2:0 8-bit. Good balance of quality and file size. 140M offers more data for colour grading, but for Cinetone footage with minimal post work, the difference isn’t visible.
Exposure Configuration
Why Aperture Priority Feels Like the Right Choice
Aperture priority is the go-to mode for video in mixed lighting. You lock the aperture wide open for maximum light, and let the camera handle ISO. It works well in most situations — the camera adapts as conditions change.
In a gym, it doesn’t work.
The Problem: Auto Exposure in Low Light
Aperture priority mode with auto ISO causes exposure instability in gyms with uneven lighting. As the subject moves through the frame, the camera continuously adjusts ISO, resulting in visible brightness fluctuations during recording.
This is particularly problematic when:
- The subject moves between lit and shadowed areas
- Background brightness varies (e.g., windows, mirrors)
- Overhead lighting creates uneven illumination
Symptom
Footage alternates between bright and dark within a single take. ISO values may swing 800-1600+ between frames.
The Solution: Full Manual Exposure
Lock all exposure variables to eliminate hunting.
| Parameter | Recommended Value | Notes |
|---|---|---|
| Mode | Manual (M) | Full control of all settings |
| Aperture | f/4.0 | Widest available on kit lens at 24mm+ |
| Shutter speed | 1/25 | See shutter speed section below |
| ISO | 640-1000 | Lock manually based on conditions |
Exposure Verification Tools
| Tool | Setting | Purpose |
|---|---|---|
| Zebras | 100+ | Identifies clipped highlights |
| Histogram | Enabled | Monitors overall exposure distribution |
Procedure
- Set manual exposure values
- Enable zebras at 100
- Frame the shot with subject in position
- Adjust ISO until zebras disappear from skin/equipment
- Check histogram — ensure data is centred, not left-weighted
- Lock settings and begin recording
Shutter Speed Selection
Standard Rule
For 25fps video, the 180-degree shutter rule recommends 1/50 shutter speed. This produces natural motion blur consistent with cinematic footage.
Low Light Adaptation
In environments where 1/50 requires ISO 1600+, reducing shutter speed to 1/25 provides a one-stop exposure advantage.
| Shutter Speed | ISO Required (f/4, dim gym) | Trade-off |
|---|---|---|
| 1/50 | 1600-2500 | More noise, standard motion blur |
| 1/25 | 800-1250 | Less noise, increased motion blur |
Motion Blur Acceptability by Movement Type
| Movement | Speed | Blur at 1/25 |
|---|---|---|
| Squat | Slow, controlled | Not noticeable |
| Deadlift | Slow, controlled | Not noticeable |
| Bench press | Slow, controlled | Not noticeable |
| Bent over row | Moderate | Minimal |
| Shoulder press | Moderate | Minimal |
| Press ups (fast) | Fast | Noticeable |
| Sprints | Fast | Significant |
Recommendation
For strength training documentation where the primary subjects are compound lifts, 1/25 shutter speed is an acceptable trade-off. The reduction in image noise outweighs the minimal motion blur on controlled movements.
Fast Movements: When to Increase Shutter Speed
1/25 works for controlled lifting. It doesn’t work for sprints.
Fast movements require faster shutter speeds to reduce motion blur. But how much blur you want is a creative choice, not a technical rule.
| Movement | Recommended Shutter | Notes |
|---|---|---|
| Squats, deadlifts, bench | 1/25 – 1/50 | Controlled, slow movements |
| Rows, shoulder press | 1/25 – 1/50 | Moderate speed |
| Fast press ups | 1/50 | Some blur at 1/25 |
| Box jumps, cleans | 1/200 | Explosive movements |
| Sprints | 1/100 – 1/500 | Depends on the look you want |
Motion Blur: Technical vs Creative
For sprints, there’s no single correct shutter speed. It depends on what you’re trying to capture.
| Shutter Speed | Result | Feel |
|---|---|---|
| 1/100 | Visible blur on arms and legs | Fast, dynamic, cinematic — conveys speed and energy |
| 1/200 | Slight blur, mostly sharp | Balanced — movement visible but cleaner |
| 1/250+ | Fully frozen motion | Clinical, precise — every frame could be a photo |
Fully frozen sprints can look oddly static, like a slideshow. Some blur makes movement feel real.
Ask yourself
Are you documenting for analysis or capturing the feeling? For training logs where the point is “I did sprints,” motion blur at 1/100 looks good and conveys effort. For form breakdown or coaching clips, freeze it at 1/250+.
Practical Approach
Keep two settings in mind:
- Lifting preset: 1/25, ISO 640-800
- Sprint adjustment: 1/100 for cinematic feel, 1/250+ for frozen detail
Switch shutter speed before sprint sets, switch back for lifting. Or film sprints when natural light is strongest to allow faster shutter without noise penalty.
Trade-off
Faster shutter = less light = higher ISO = more noise. For sprints in a low light gym, you may need to accept some noise or some blur. If clean frozen footage matters, time it for the daylight window.
Focal Length Selection
Wide Angle Distortion
Focal lengths below 24mm (full-frame equivalent: 36mm) introduce perspective distortion when filming the human body at close range.
| Effect | Description |
|---|---|
| Barrel distortion | Edges of frame curve outward |
| Perspective exaggeration | Objects closer to camera appear disproportionately large |
| Edge stretching | Limbs near frame edges appear elongated |
Practical Impact
| Focal Length | Camera Distance | Result |
|---|---|---|
| 18mm | Close (1-2m) | Distorted proportions, stretched limbs, unprofessional appearance |
| 24mm+ | Further (2-3m+) | Natural proportions, accurate body representation |
Recommendation
Use 24mm minimum (36mm full-frame equivalent). Position the tripod further back to maintain framing. This produces more accurate documentation of form and movement.
Space Requirements
Shooting at 24mm+ requires additional distance between camera and subject. In constrained gym environments, consider:
- Positioning in corners for maximum depth
- Using mirrors to check framing without repositioning
- Setting up before peak hours when floor space is limited
White Balance Configuration
Gym Lighting Characteristics
Most gyms use overhead fluorescent or LED lighting with colour temperatures between 3500K-5000K. Auto white balance may produce inconsistent results as the camera compensates for mixed lighting.
Manual White Balance Settings
| White Balance | Result | Use Case |
|---|---|---|
| 3000K | Cool, industrial grey tones | Preferred for neutral documentation aesthetic |
| 4000K | Neutral, slight warmth | Balanced appearance |
| 5000K+ | Warm, yellow cast | Not recommended for fluorescent environments |
Note
Lower colour temperatures (3000K) counteract the yellow-green cast common in fluorescent-lit environments, producing a cleaner, more neutral image.
Ambient Light Considerations
The Daylight Variable
Gyms with windows experience significant light level changes throughout the morning. This affects required ISO settings.
| Time Window | Typical Conditions | ISO Required (f/4, 1/25) |
|---|---|---|
| 06:00-08:00 | Artificial light only | 1000-1600 |
| 08:00-09:00 | Mixed light | 800-1200 |
| 09:00-11:00 | Daylight contribution | 400-800 |
Optimisation
Schedule primary lifts (those requiring best footage quality) for the daylight window when available. This allows lower ISO values and cleaner images without equipment changes.
Common Issues and Solutions
Issue 1: Exposure Fluctuation During Recording
Symptom: Brightness changes mid-take
Cause: Auto ISO or auto exposure enabled
Solution: Switch to full manual exposure, lock ISO
Issue 2: Excessive Image Noise
Symptom: Grainy, noisy footage
Cause: ISO too high (typically 2000+)
Solution: Reduce shutter speed to 1/25, open aperture fully, utilise daylight window
Issue 3: Distorted Body Proportions
Symptom: Stretched limbs, exaggerated perspective
Cause: Wide focal length (18mm) at close distance
Solution: Zoom to 24mm+, increase camera-to-subject distance
Issue 4: Yellow/Green Colour Cast
Symptom: Unnatural skin tones, yellow-tinted footage
Cause: Auto white balance compensating incorrectly for fluorescent lights
Solution: Set manual white balance to 3000K
Issue 5: Wrong Recording Mode
Symptom: Settings don’t match saved presets, unexpected behaviour
Cause: Camera in photo mode instead of video mode
Solution: Verify mode dial before recording, use dedicated video mode
Lens Upgrade Path
Current Limitation
The Sony 18-135mm f/3.5-4.5 kit lens limits low light performance. At 24mm focal length, maximum aperture is approximately f/4.0.
Upgrade Options
| Lens | Max Aperture | Price (approx.) | Benefit |
|---|---|---|---|
| Sigma 18-50mm f/2.8 DC DN Contemporary | f/2.8 constant | £439 | +1.5 stops light gathering |
| Sigma 17-70mm f/1.8 DC DN Art | f/1.8 constant | £779 | +2.3 stops light gathering |
Expected Improvement
| Aperture | ISO Required (1/25, same exposure) |
|---|---|
| f/4.0 (current kit lens) | 1000 |
| f/2.8 (Sigma 18-50mm f/2.8 DC DN Contemporary) | 500 |
| f/1.8 (Sigma 17-70mm f/1.8 DC DN Art) | 200 |
Assessment
The Sigma 18-50mm f/2.8 DC DN Contemporary provides good value — constant f/2.8 allows ISO reduction of approximately 1.5 stops. The Sigma 17-70mm f/1.8 DC DN Art is the better long-term investment if budget allows — over 2 stops faster than the kit lens, which virtually eliminates low light limitations in most gyms.
Saving Presets
Why Save a Preset
Switching between photo and video modes, or reconfiguring settings each session, wastes time and leads to mistakes (like filming an entire session in photo mode).
Save your video settings as a preset. One dial click and you’re ready.
What to Save
| Setting | Value |
|---|---|
| Mode | Manual |
| Aperture | f/4.0 (or widest available) |
| Shutter | 1/25 |
| ISO | 800 (adjust per session) |
| White balance | 3000K |
| Picture profile | Cinetone |
| Bit rate | 100Mbps |
| Colour sampling | 4:2:0 8-bit |
How to Save (Sony A6700)
- Configure all settings as above
- Menu → Shooting → Shooting Mode → Memory Recall (MR)
- Register to M1, M2, or M3
- To recall: turn mode dial to 1, 2, or 3
Tip
Use M1 for gym filming preset. Check the mode dial before every session — it takes one second and prevents filming in the wrong mode.
Quick Reference Card
Recommended Settings (Low Light Gym)
| Parameter | Value |
|---|---|
| Mode | Manual |
| Aperture | f/4.0 (or widest available) |
| Shutter | 1/25 |
| ISO | 640-1000 (locked) |
| White balance | 3000K |
| Focal length | 24mm minimum |
| Picture profile | Cinetone |
| Zebras | 100 |
| Histogram | Enabled |
Pre-Recording Checklist
- Video mode selected
- Manual exposure set
- ISO locked
- White balance at 3000K
- Zebras enabled
- Framing at 24mm+
- Tripod stable and positioned
- Test clip reviewed
Revision History
| Date | Version | Changes |
|---|---|---|
| 2026-01-04 | 1.0 | Initial documentation |
Technical reference document. Updated as new learnings are validated.